This is how your piece of furniture becomes shabby chic

The two color technique
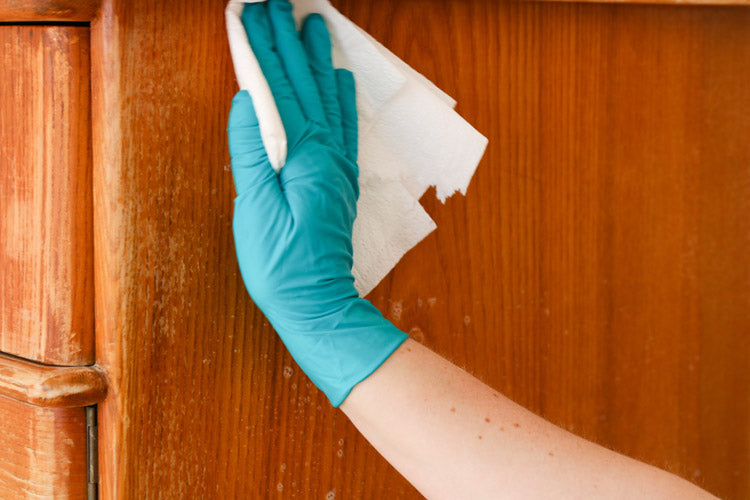
1. Preparation and cleaning
Spray the surface with yellowchair® basic cleaner and wipe with a dry cloth. Allow the substrate to dry.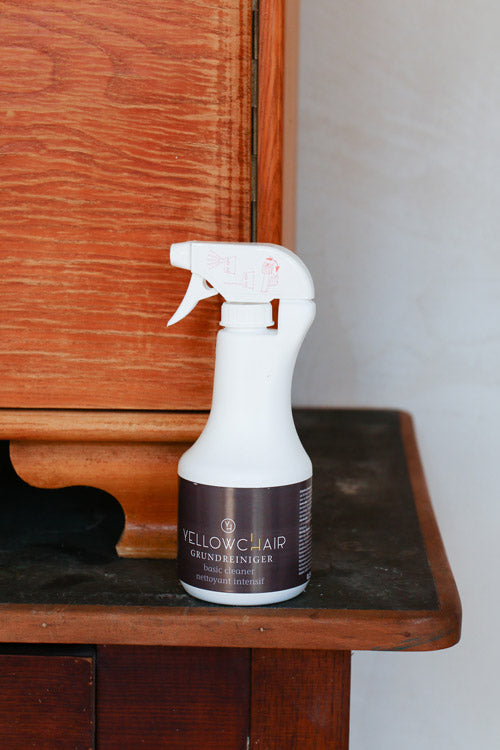

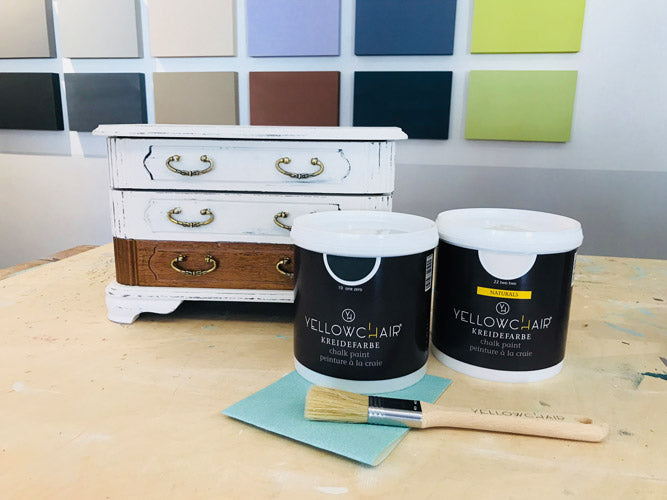
2. Primer with chalk paint
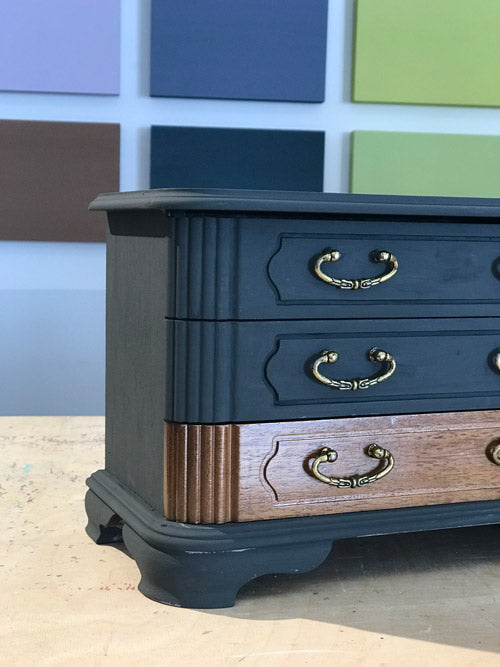 Use the brush to apply yellowchair® chalk paint in a dark shade. When working in SHABBY CHIC style, it doesn't matter if the paint isn't applied with the direction of the wood grain. Criss-cross is allowed and gives a particularly nice effect. Work wet on wet and do not stroke the same spot too often.
It is often advisable to paint the first coat undiluted. If the substrate is very absorbent, the paint can be diluted with a little water.
Allow the paint to dry for at least 12 hours.
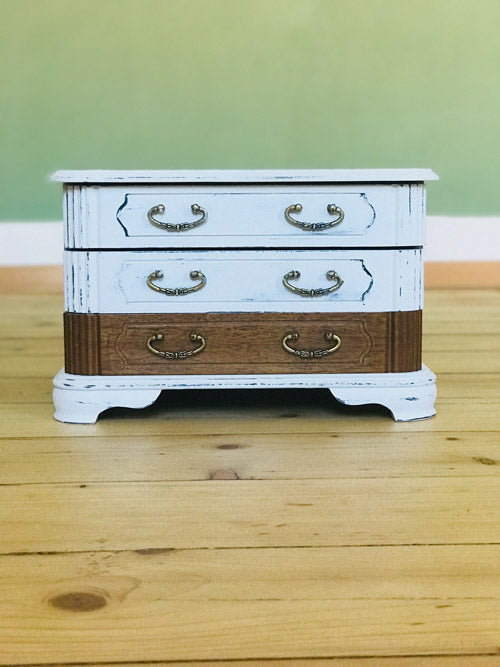
3. Prepare edges
 Paint with a white candle wherever you want edges, corners and surfaces to be visible in the color you first painted. The applied candle wax forms a protective layer and prevents sanding through to the wooden surface when sanding later.
4. Application of the chalk paint in the main shade
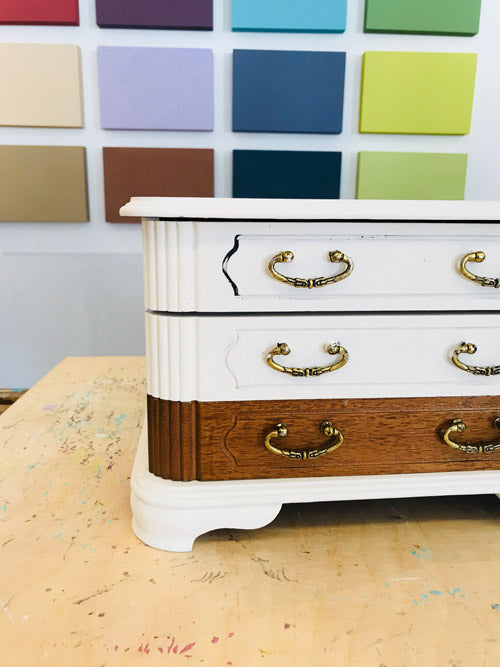 Now the second lighter or contrasting color can be applied. Don't be too specific. Perfectionism is not required with the SHABBY style. If necessary, brush with diluted paint and also over the areas just treated with candle wax.
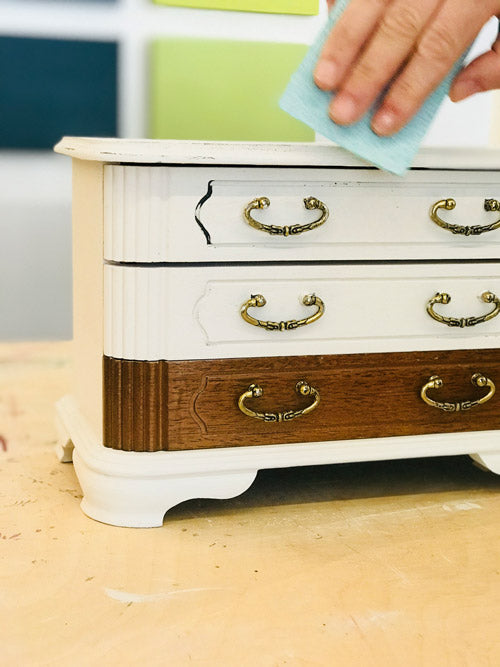
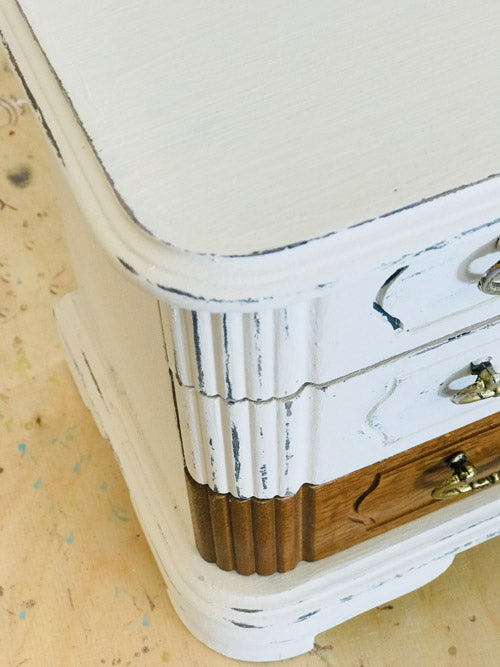
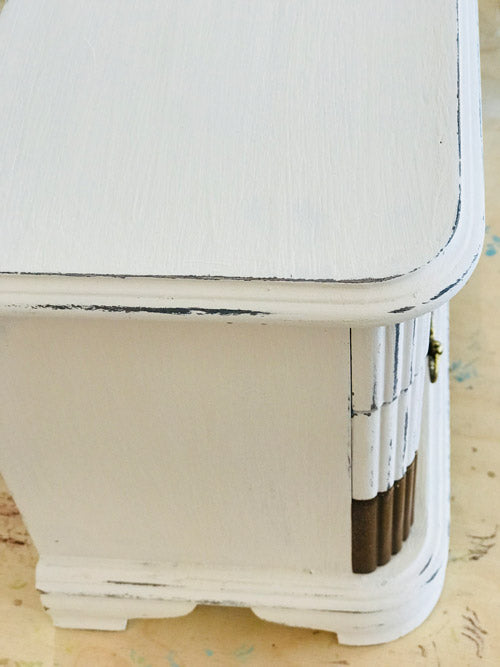
5. Bows for the SHABBY CHIC style
After drying, sand with 120 grit sandpaper.
Even with light pressure with the sandpaper on the areas treated with candle wax, the color is removed there almost as if by itself.
Look at the piece of furniture from a distance to get an overall impression of the furniture and to see where the dark undertone should still be visible and where further sanding is required.
Bind the accumulated dust with a damp cloth.
As a result of the grinding, the chalk paint has lost its slightly rough surface and is very soft.
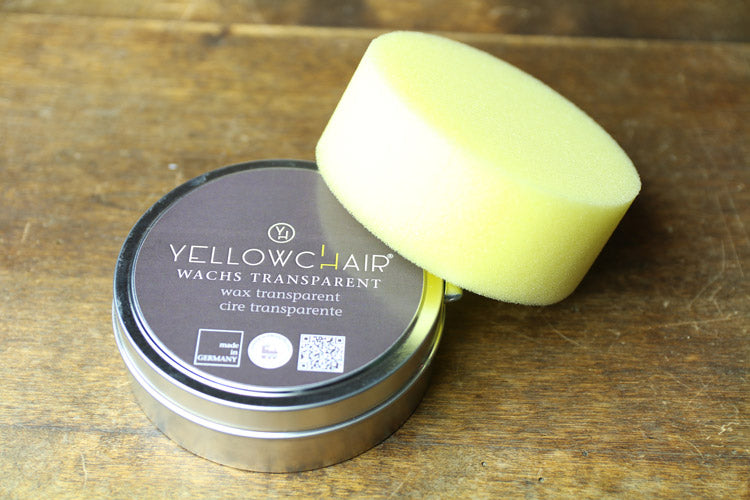
6. Finish with wax
Finally, to protect the color, the piece of furniture can be embedded with transparent yellowchair® wax. Wax emphasizes the naturalness of the chalk paint. The best way to do this is with the application sponge.Apply the wax in a thin layer, making sure that all pores are closed. It takes 2-5 days for the wax layer to harden completely, depending on the application thickness and room temperature.